Tutorials and Tips for Lightmapping & Shadows in Unity
Published
Getting scenes to look good can be a struggle if you’re just starting out with Unity, and even if you’re more experienced. You need good quality materials, an understanding of shaders but, most of all, it’s very important to prepare your scene’s lighting properly.
I found 2 great tutorials on Youtube which helps you with this, there’s much to learn from them and I highly recommend watching them.
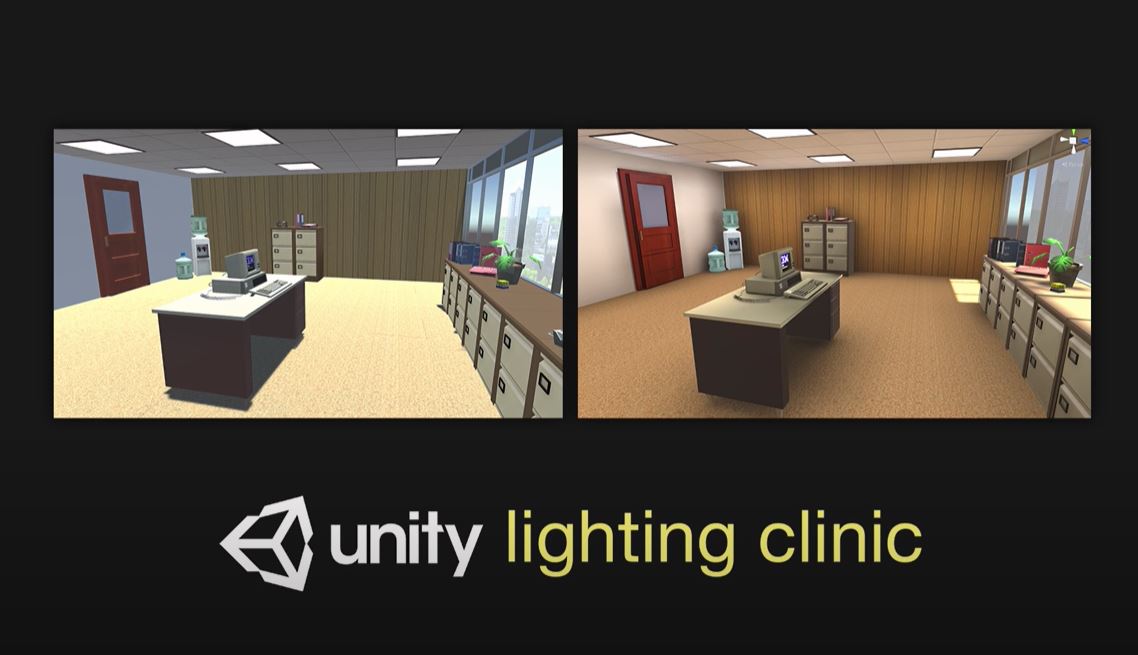
The first one is called Unity Lighting Clinic 1, by The Unity Workbench.

One issue I have with tutorials is that they often show off a completed scene, and we don’t really get a sense of how all the individual elements relate to each others.
This tutorial addresses this issue: it is a case study which gives a step by step explanation of common mistakes and how to fix them.
One thing to note is that this tutorial dates from 2018 so it lacks some features of the more modern rendering pipelines (URP/HDRP), but it is still extremely good. Once again, you can find it on youtube.
The second one is more recent and is a part of the Unite 2020 series, you can find this tutorial here.
It’s more focused on the technical side of things, going in depth about every settings available: shadow quality, shadow cascades, UV mapping, Light Probes etc…
It’s not a hands-on tutorial like the previous one, but it has great tidbits of knowledge. For example, the following image shows which settings can be cranked up to the max for your final, release build, to get the best graphics with no runtime costs.

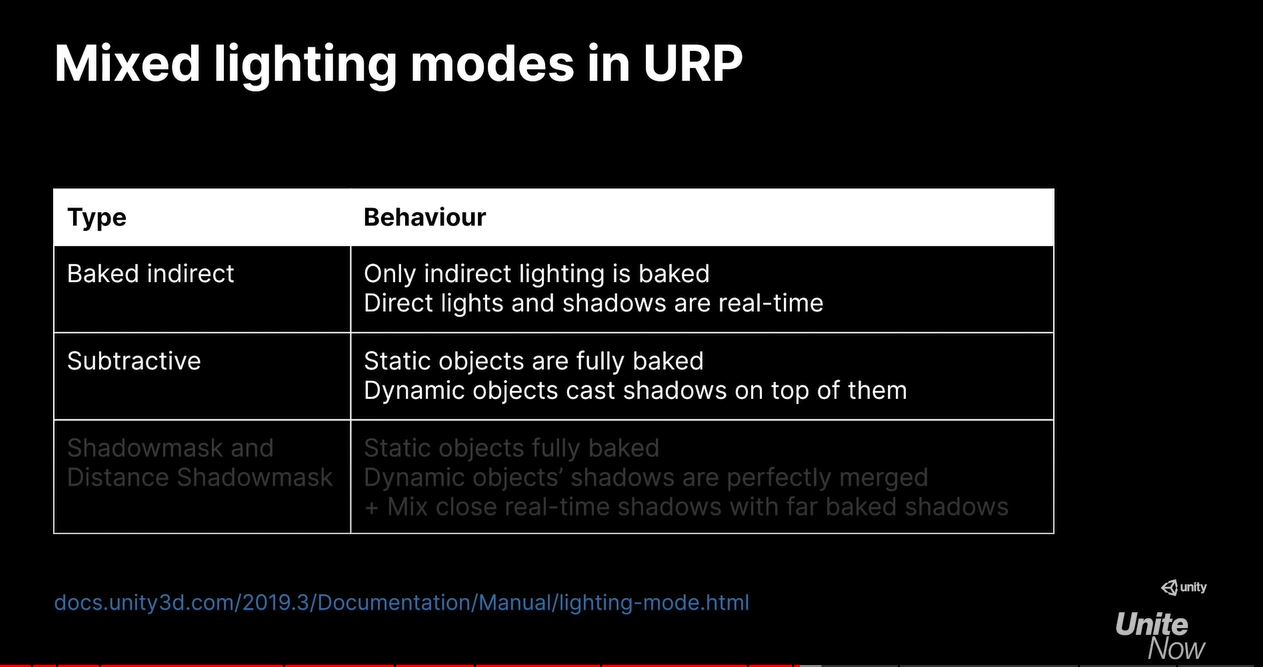
You’ll also get an explanation and comparisons of different lighting modes.

I definitely recommend you start by watching the Lighting Clinic video (the first one), before the Unite video. I hope you’ll find them as interesting and useful as I did! Your scenes will look a lot better if you start applying the principles explained in these videos.