Implementing a parametric pushback in Unity
Published
In a previous article, we implemented a recoil effect in Unity. Now we’ll improve on our previous code to allow for a smooth pushback effect dependent on duration and distance. The idea is to replicate an effect similar to Final Fantasy Tactics Advance: when a unit receives a critical attack, it gets pushed back by 2 cells.
So how are we going to do that? We’ll use some quick maths. The main idea is that we are lerping between an initial position and a target position depending on time elapsed and duration of the animation.
float time_pct = time_elapsed / duration;
Vector3 curr_pos = Vector3.Lerp(initial_pos, target_pos, time_pct);
Now the main issue with the previous code is that this is linear interpolation so the unit gets moved at a constant speed and suddenly stops, while pushback / recoil usually has a decreasing force.
To give a more realistic impression, we’ll want to remap from time_pct to another value using a function that exhibits decay. Visually, this would mean a function that takes a value from [0; 1] and remaps it to [0; 1], but would have fast growth at first then flattens while approaching x = 1.0.
It’s a common approach to use a tool such as AnimationCurve to easily remap an input to get this effect. It’s a simple approach, and it works, but in my opinion it lacks some flexility if you need to handle different cases or want to iterate quickly: maybe you’re unsure of the target duration, or how strong the decay should be. Using a mathematical function instead of an AnimationCurve can help you get the level of flexibility you need.
So which functions should we use? As described previously, we need a function that can take an input from [0; 1] and output a value to [0; 1] while exhibiting a curved pattern. There are a number of functions that you can use but you may have to adjust them a bit to fit your needs, while some don’t need much work. For example, with x in [0; 1] you can use Mathf.pow(x, p) with p in [0; 1].
Let’s take a more involved example, to show off how we can adjust a preexisting function: the log function (Mathf.Log10).
Now, the log function exhibits this curved aspect that we’re looking for, but its values need to be remapped since ln(0) goes to -inf.
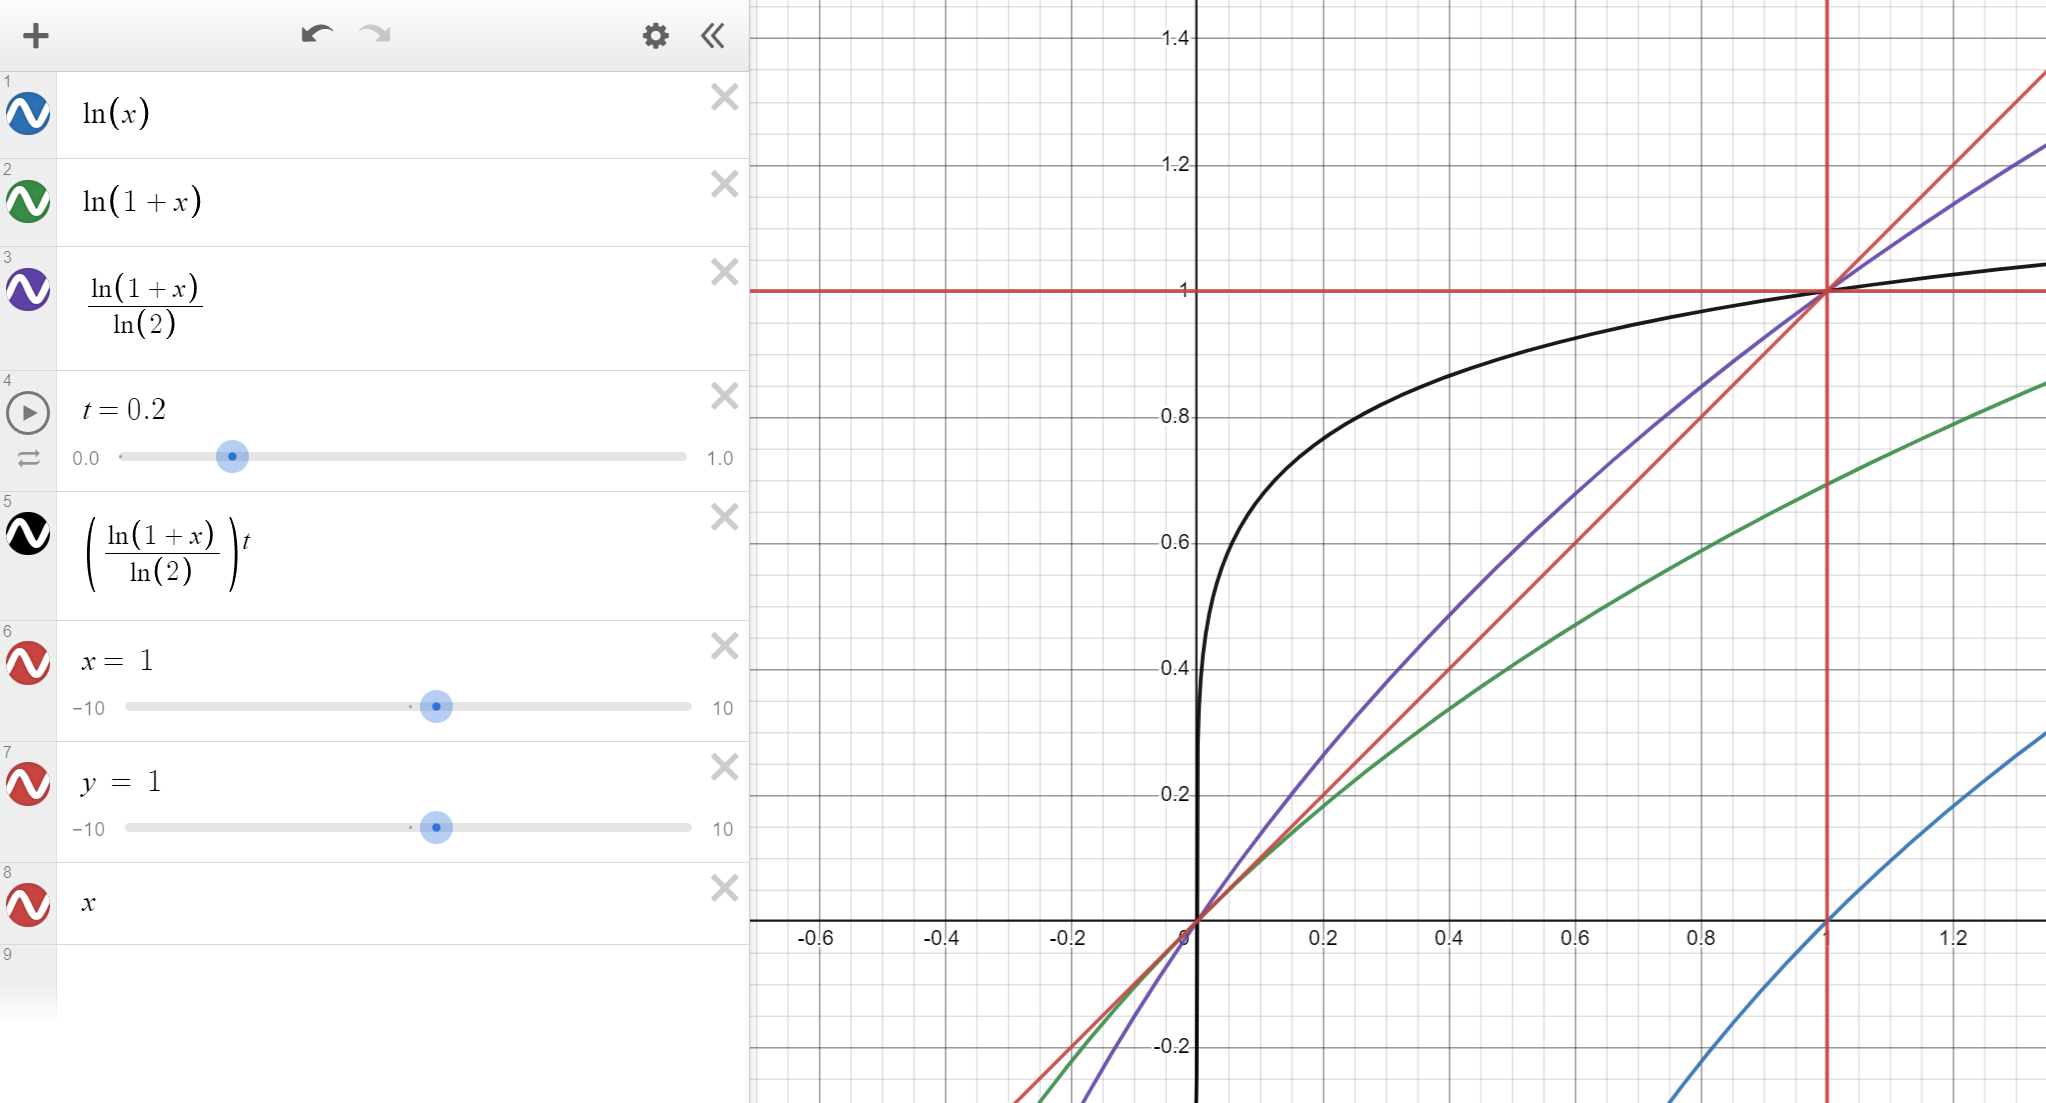
The good thing about it though, is that log(1) = 0 so with “t” the current value of elapsed_time / anim_duration, we can 1.0 to our value of t so that our new function will give 0 for t = 0.
Now the next issue is to focus on the other end of the curve: it needs to be equal to 0 if t == 1.0. Since our current function is Mathf.Log10(1f + t), then we can get a value of 1.0 with the following: f(1.0) = Mathf.Log10(1f + 1f) / Mathf.Log10(2) = 1.0.
Finally, as our final value is in the range [0.0; 1.0], we can use a power function on it, like we did on the previous example, to control the slope of the function.
Using this, we now have a log10 based function that remaps a value from [0; 1.0] to [0.0; 1.0] while exhibiting our intended behaviour. Congrats!
Let’s visualize the evolution of our function using Desmos. As you can see, the y = ln(1+x)/ln(2) function exhibits some curvature compared to y = x.
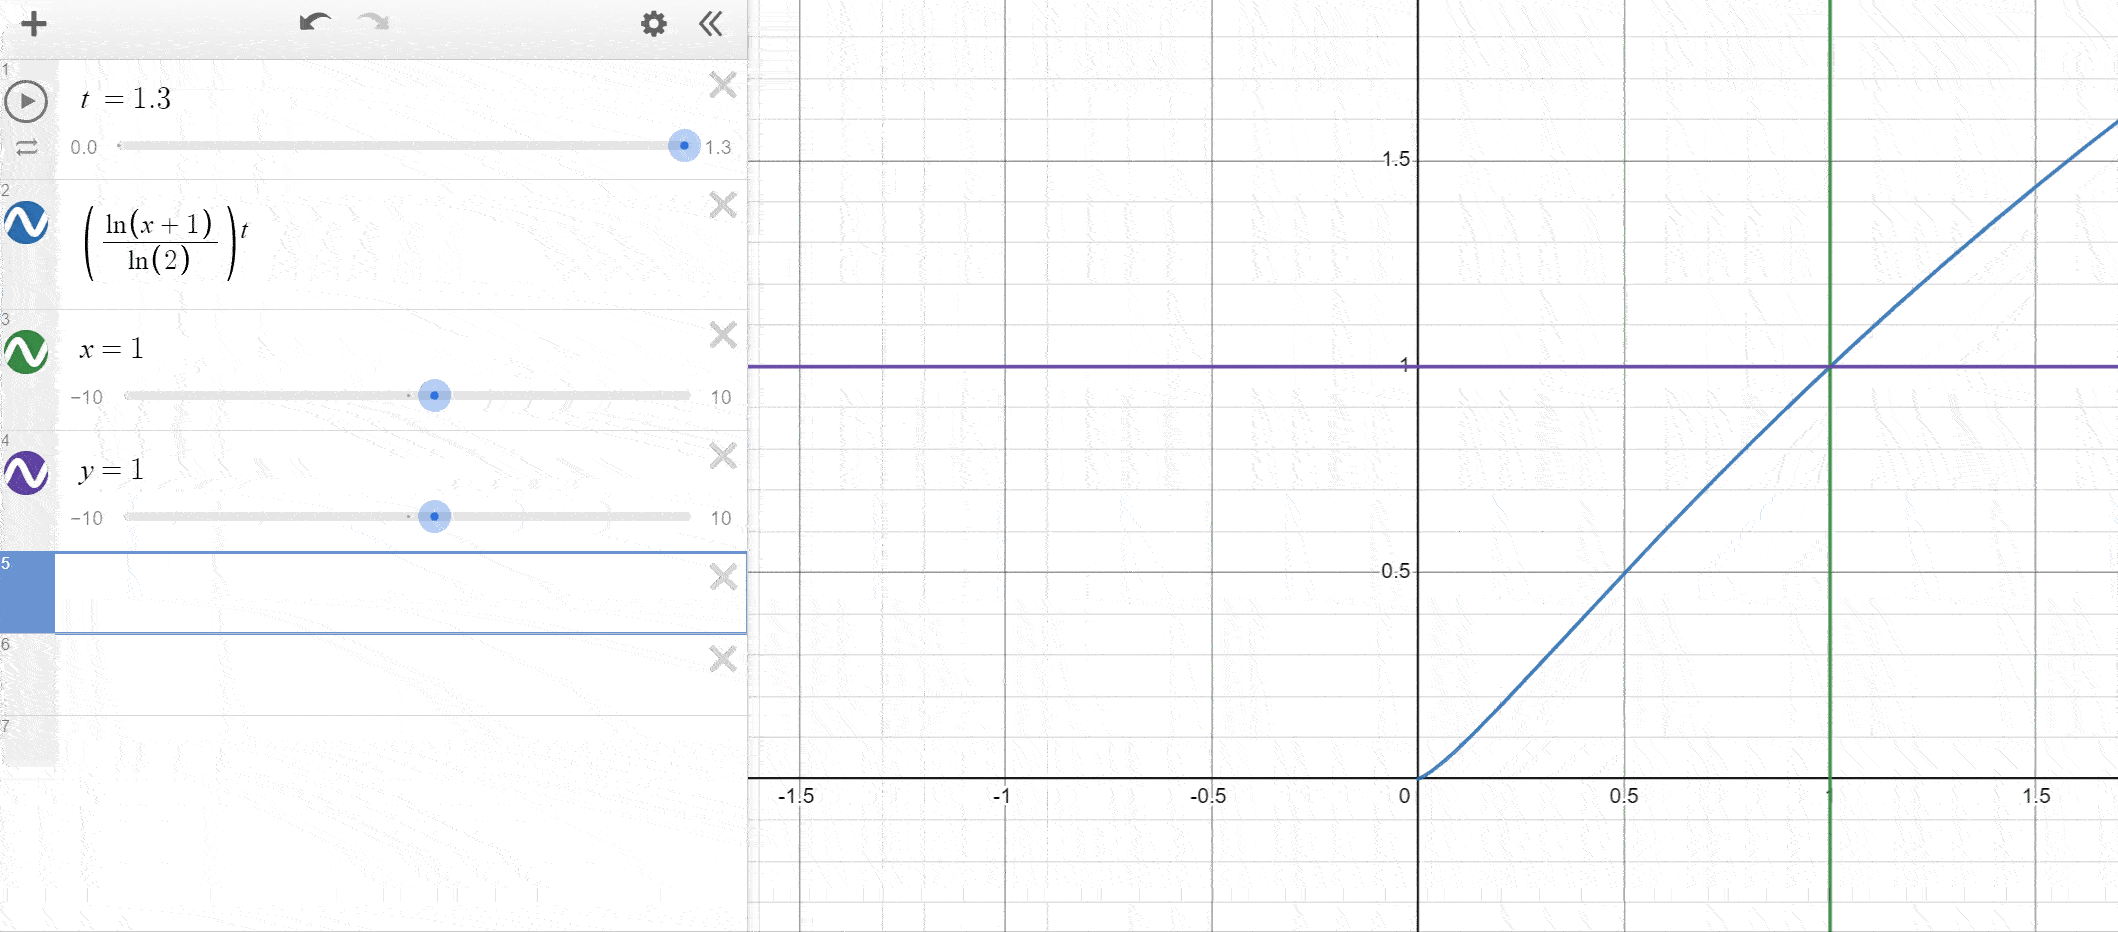
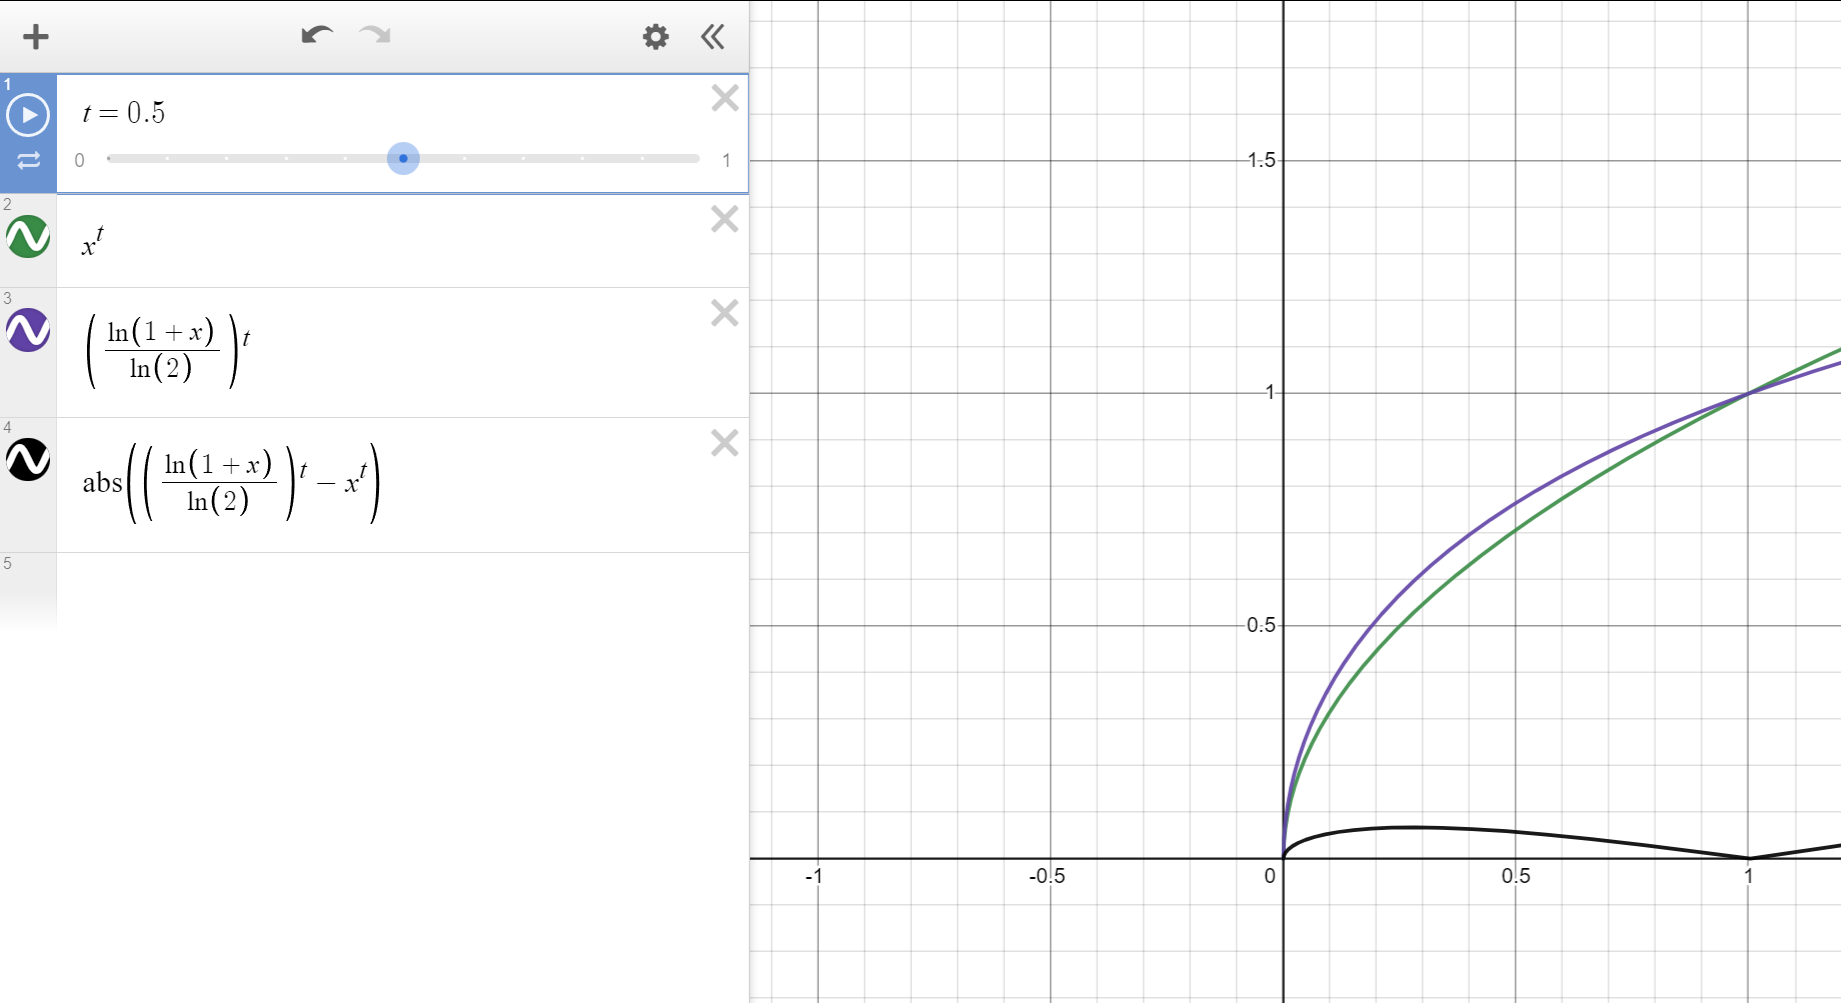
As mentionned, you can use other functions as long as they remap into the appropriate range. Let’s also quickly compare our log-based solution to the pow(x, p) method.
So now that we have our function, let’s implement it in Unity. The logic is pretty straightforward, since we’re just lerping between 2 vectors using a function so I’ll just show code wrapped in a Coroutine.
using System.Collections;
using UnityEngine;


/// Player controller for dev of fighting
public class CharacterPushback : MonoBehaviour
{
    public float duration;
    public float power;

    public void Push() {
        StartCoroutine(Coroutine_Push(init_pos, target_pos));
    }

    IEnumerator Coroutine_Push(Vector3 initial_pos, Vector3 target_pos) {
        float elapsed = 0f;
        while (elapsed < duration) {
            float lerp_factor = Mathf.Pow(Mathf.Log10(1f + elapsed / duration) / Mathf.Log10(2f), power);
            transform.position = Vector3.Lerp(initial_pos, target_pos, lerp_factor);
            yield return null;
            elapsed += Time.deltaTime;
        }

        transform.position = target_pos;
    }
}
Now we’re free to use it in-game! Let’s take a look:

This is all pretty straightforward. Now it’s your call to adjust power and duration to whatever you think is best!